
BatRep: 05-02-2010: Friday Night 40K League
Opponents: Chris (Tau) and Chris M (IG) at 1500
This was a great game with lots to learn from.
Our game started off with a stellar roll: Annihilation, Dawn of War. The Tau won the initiative; the IG attempted to seize and did not.
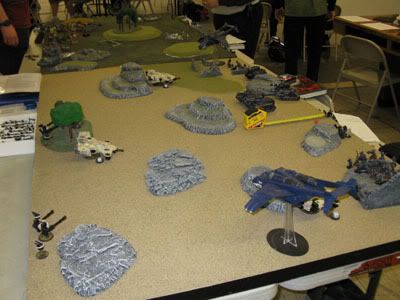
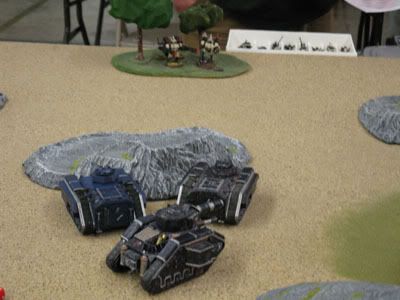
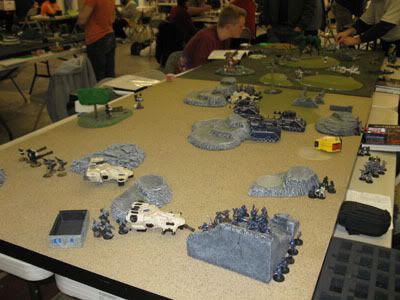
Turn one saw every unit enter the board except the Pathfinders and Stealth Team. Tau took to the center of the board with HQ and Broadsides. To either side of the table were a team of Firewarriors in Develfish. The IG set up fairly evenly…I’ll try to recall all the units: two Russes, a Demolisher and two Chimeras at center with a Vendetta at either end and the HQ with a Combined Squad camped out in area cover and behind hills. By the end of turn one, it was very clear that the Demolisher would be the bane of the Tau.
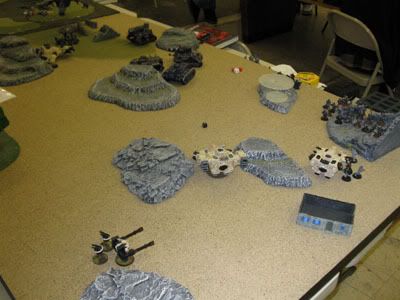
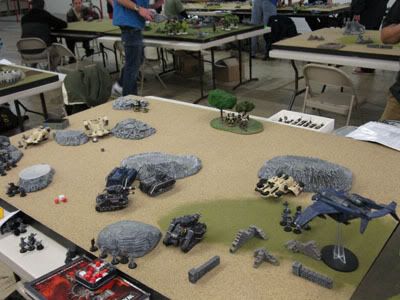
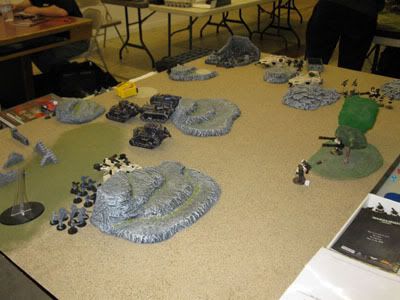
Mid Game: the IG was well ahead having taken out both Firewarrior Teams' Devilfish and a Firewarrior team. The Tau HQ lost all its Drones as did the accompanying Broadside. The second Broadside did well against the Vendettas, downing both and forcing the IG out; however, once on the ground, the North end squad (forced out of the downed Vendetta) pacified the disembarked Firewarriors from a previous Destroyed Devilfish. Near the end, the Stealth Team finally “materialized” and attacked the North end squad, eliminating them. While the Broadsides worked feverishly to wreck a few more armor, the IG hung back and relied on its cover to last the day. By game’s close, it was Tau 3, IG 5.
This Commander’s Retrospect:
After my deployment, I made several key mistakes: most notorious was attempting to press inwards with the Fish/Warriors and Pathfinders instead of falling back to the hills and staying out of LOS. Disruption Pods do wonders at keeping 4 shots, that don’t need line of sight, on the table…if you make the rolls. I didn’t need to gamble that as there was no need for the Fish/Warriors to be active in this fight. The Pathfinders would have had plenty of room in the area cover that I had. The other mistake was keeping the Stealthteam in reserve. They did their points worth once in and could have done more if brought in on turn one. Aside from the Devilfish (which failed their Obscured rolls epically) , they were my most mobile and hard to hit unit.
The Tau doesn’t do attrition, assault or armor very well (they really can’t “surf”). What they do well is bend the rules of the game with Jet Packs, Smart Missiles and Markerlights...essentially; they hide and sap their opponents until either the force in ineffectual to the mission or charging into a kill zone. Each time I've tested a tactic counter to this, it ends very badly. The key will be to minimize my army's footprint and cover its tracks.
Chris M took the photos. We agreed that set up, mid game and closing would be enough with alternate vantage points.

No comments:
Post a Comment